Signs That You Need a New Roof

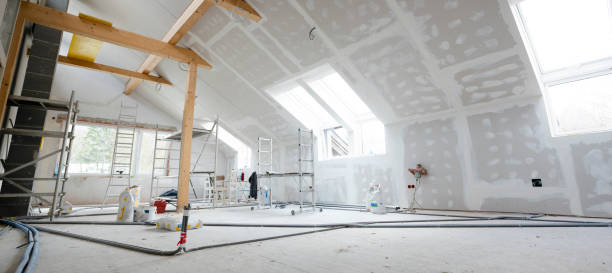
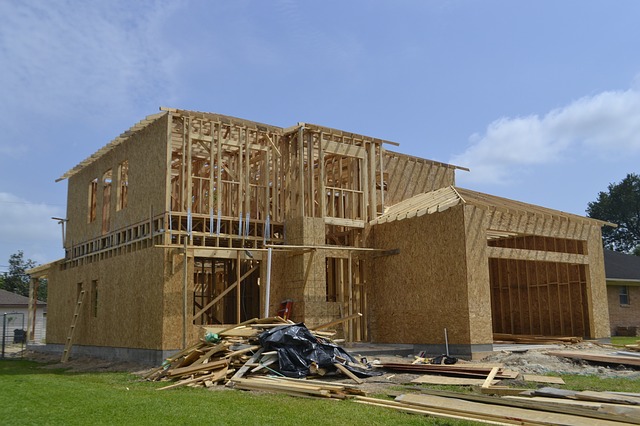
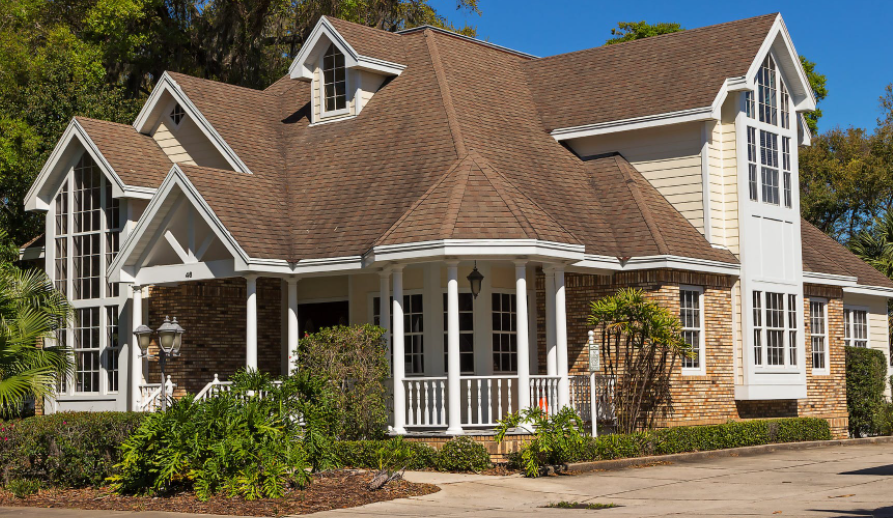
Is it an opportunity to fix or supplant your old rooftop? Perhaps you’ve seen indications of mileage on your rooftop deteriorating, or a brutal tempest got through your space as of late and harmed nearby rooftops. By and large, there are apparent signs that you wanted another rooftop, however at times rooftop harm can sneak up on you with very little notice. In the event that you speculate that your rooftop is harmed, make a move and call a roofer.

Thanks to the guys and gals at BGB Painting for these inspection tips.

Noticeable Leaks

Quite possibly the most widely recognized sign that you really wanted a rooftop substitution is a conspicuous break. Rooftop spills happen for some reasons, going from destroyed materials to storm harm. As roofing materials debilitate, water can leak in through the shingles and into the remainder of the house. This prompts water interruption, and frequently, noticeable puddles during precipitation storms. Some of the time little breaks can be fixed or fixed by a material worker for hire, yet as a rule, little releases go undetected until they are a lot bigger and require even more repairs.

Inside Water Damage

An apparent dribble isn’t the main indication of a rooftop spill. Ordinarily a flawed rooftop will show as inside water harm. This regularly appears as though streaks, stains, or water spots in the storage room, or the roof or dividers of your home. Water harm can be brought about by different issues, similar to a burst pipe, spilling machine, or broken fixture, however in case it’s appearing up in the storage room, on the roof, or close to the highest points of your dividers, it is reasonably brought about by a flawed rooftop.

Twisting, Missing, or Mossy Shingles

At times, rooftop harm is clear from the beginning. Shingles are the doorway to your material framework, so on the off chance that you notice missing, twisting, or broke shingles when you take a gander at your rooftop, it’s likely an ideal opportunity for a rooftop substitution.

Probably the most widely recognized types of noticeable shingle harm include:

·       Broken shingles

·       Harmed or twisted shingles

·       Free or missing shingles

·       Harm or staining around vents

·       Missing granules

·       Greenery or green growth development

·       Harm around fireplaces or bay windows

A Sagging Roofline

One more way of realizing that you wanted another rooftop is to check out the state of your roofline. Your rooftop lines ought to be straight and solid. If you notice plunging, bending, or apparent drooping research the reason. While a hanging roofline could be brought about by an outlining issue, it can likewise be brought about by a water-immersed rooftop deck. If so, you might require another rooftop to fix the issue.

In the event that a drooping roofline is joined by noticeable shingle harm, breaks, or water harm, act rapidly to fix the issue before it deteriorates. At times, a hanging roofline can prompt a halfway or complete collapse.

How to Repair Plaster Correctly

Repairing plaster can help restore the appearance and structural integrity of walls and ceilings. Here’s a step-by-step guide on how to repair plaster:

  1. Prepare the area: Clear the area around the damaged plaster, removing any loose debris or flaking plaster. Use a brush or vacuum to clean the surface.
  2. Secure the loose plaster: If there are any loose or bulging areas, use a putty knife or scraper to gently remove them. Ensure that the remaining plaster is stable and firmly attached to the lath or substrate.
  3. Apply a bonding agent: To improve the adhesion of the new plaster, apply a bonding agent to the prepared area. Follow the manufacturer’s instructions for the specific bonding agent you’re using.
  4. Mix the plaster: Prepare the plaster mix according to the manufacturer’s instructions. Use a clean bucket and add water gradually to achieve the desired consistency. Stir the mixture thoroughly until it is smooth and free of lumps.
  5. Apply the plaster: With a trowel, apply the plaster mix onto the damaged area. Start by filling in the deepest areas first and gradually build up the surface to match the surrounding plaster. Use the trowel to smooth and level the plaster.
  6. Feather the edges: Feathering is the process of tapering the plaster edges to blend seamlessly with the surrounding surface. Use a wet sponge or a damp cloth to gently smooth and feather the edges of the newly applied plaster.
  7. Let it dry: Allow the repaired plaster to dry completely. Drying times can vary depending on the thickness of the plaster and environmental conditions. Follow the manufacturer’s instructions for recommended drying times.
  8. Sand the surface: Once the plaster is dry, use sandpaper or a sanding block to smooth out any rough patches or unevenness. Take care to blend the repaired area with the surrounding surface for a seamless finish. Wipe away the dust with a clean cloth.
  9. Prime and paint: Apply a coat of primer to the repaired area to ensure proper adhesion and paint coverage. Once the primer is dry, you can paint over the repaired plaster to match the rest of the wall or ceiling.
  10. Clean up: Clean your tools and dispose of any waste materials properly. Follow any specific instructions provided by the plaster manufacturer for cleaning and disposal.

Note: If the damage to the plaster is extensive or beyond your skill level, it may be best to consult a professional plasterer or contractor to ensure a high-quality repair.

Remember, plaster repairs can be time-consuming and require patience. Take your time, follow the steps carefully, and don’t rush the process. With practice and attention to detail, you can achieve a successful plaster repair and restore the beauty of your walls or ceilings.

How to Tape and Mud Drywall

Taping and mudding drywall is an essential step in achieving a smooth and seamless finish for your walls. Here’s a step-by-step guide on how to tape and mud drywall:

Materials you’ll need:

  • Drywall tape (paper or mesh)
  • Joint compound (mud)
  • Putty knife
  • Drywall mud pan
  • Sandpaper (various grits)
  • Sanding block or pole sander
  • Water
  • Sponge or damp cloth

Step 1: Prepare the drywall joints

  • Ensure that the drywall panels are properly installed, with no gaps between them.
  • Use a utility knife to cut away any protruding or damaged drywall paper edges.
  • Apply a thin layer of joint compound over the joints and screw/nail indentations (known as dimples) using a putty knife. This is called the “first coat” or “bed coat.”

Step 2: Apply drywall tape

  • Cut pieces of drywall tape slightly longer than the joints you’re working on.
  • Press the tape firmly onto the joint compound while it’s still wet, aligning it along the center of the joint.
  • Smooth out any bubbles or wrinkles in the tape using your putty knife, ensuring good adhesion to the joint compound.

Step 3: Second coat application

  • Apply a second coat of joint compound over the tape using a wider putty knife than the first coat.
  • Extend the mud beyond the edges of the tape, feathering the edges to create a gradual transition.
  • Smooth the joint compound as much as possible, aiming for a flat surface. However, it doesn’t need to be perfect at this stage.

Step 4: Third coat application

  • After the second coat has dried (usually overnight), lightly sand any ridges, bumps, or imperfections with sandpaper.
  • Apply a third coat of joint compound, wider than the previous coats.
  • Feather the edges further out to blend the compound into the surrounding area.
  • Again, allow the mud to dry completely.

Step 5: Finishing touches

  • Once the third coat is dry, sand the area using fine-grit sandpaper to achieve a smooth and even finish.
  • Wipe away any dust with a damp sponge or cloth, and let the wall dry.
  • Inspect the surface for any remaining imperfections and apply additional coats of joint compound as needed, repeating the sanding process between coats.

Step 6: Final sanding and touch-ups

  • Sand the area one last time using fine-grit sandpaper, focusing on achieving a seamless transition between the joint compound and the surrounding drywall.
  • Wipe away any dust and check for any visible seams or imperfections.
  • If necessary, apply a thin layer of joint compound to smooth out any remaining flaws.
  • Sand and touch up the area as needed until you achieve the desired smoothness and seamless finish.

Remember, patience and attention to detail are key when taping and mudding drywall. It may take several coats and sanding iterations to achieve a professional result. With practice, you’ll develop the skills to create smooth and seamless walls ready for painting or finishing.

.

Step by Step Instructions to Choose the Best Interior Painter

Begin by choosing three tones from a current article in your home. Take a pad from the family-room couch, your number one tie or scarf, or an artistic creation anything that conveys solace or has an enthusiastic association for you-and take that item to the paint store.

  • Observe three example strips with those tones, and you in a split second have 15 to 18 shadings you can use, since each example strip regularly contains six paint tones.
  • The subsequent stage is to pick one of the three paint tones as your divider tone and to save the other two to be utilized around the room in texture or goods.
  • To pick the tones for contiguous rooms, take a similar unique three shading test strips and select another shading.
  • At last, pick a fourth shading that can be utilized as a complement: Sprinkle a tad bit of that tone into each room of the house-via a cushion or plate or fine art. It makes an association between the spaces. Although you want to have 3-4 combinations of colors for your room, it is important that your colors blend well together, otherwise, it will not look good.
  • When you have your tones close by, consider the completion you’ll utilize. However, the present level paints have expanded stain obstruction, the tried-and-true way of thinking has long held that a silk (additionally called eggshell) finish is best for dividers since it is scrubbable and doesn’t cause to notice flaws. Semi-gleam and serious shine get done, it was thought, were best passed on to the trim, where they could emphasize the bends of an embellishment profile or the boards of an entryway.
  • For subtle emphasis, we recommend painting embellishment or entryways only one stage lighter or hazier than the essential divider. It’s an unobtrusive change in shading however it truly carries your eye to the detail.
  • Painting a metallic coating right on top of a current painted component, similar to a roof emblem, is one more method for drawing consideration. A copper or bronze completion is exceptionally clear and it gives a decent shine that upgrades the building highlight.

How to Paint Your Roof

Ensure you have the right paint for the outer layer of your rooftop

The main thing to note when painting your rooftop is to get the sort of paint explicitly intended for rooftop surfaces. Since there are various kinds of rooftop material, most housetop paints are relevant to roofs made in an assortment of materials like concrete, substantial tiles, and different sorts of material. Nonetheless, acrylic paint, the most preferred assortment for roofs as it offers a variety of advantages when contrasted with other rooftop paints. It can oppose chipping, breaking and chalking.

Set up the outer layer of your rooftop prior to painting

Prior to painting your rooftop with its first coat, you need to prepare it to wind up with the most ideal outcome. It tends to be quite difficult, yet it will merit the work. What you really wanted to do is to eliminate all the soil and residue from the rooftop surface and smoothen it out by sanding endlessly free paint. Remember that your rooftop ought to be spotless and dry prior to painting.

Schedule your rooftop painting project in the bright months of the year

The downpour can be your most exceedingly awful foe when painting your housetop. If it showers while your paint is still wet, it cannot dry as expected. So try to plan your undertaking during the months of the year with the least precipitation.

Check if you have more paint for the coat

Guarantee that you buy enough (or considerably all that anyone could need) paint for at least one coat. In case you don’t know the amount to get, get the inexact proportion of your roof and counsel your provider about the spreading rate per square meter.

Plan ahead

In case you will paint your rooftop yourself, ensure you do it deliberately. Plan how you will paint your rooftop so you would not need to step on wet paint when you’re finished.

Easy Ways to Increase the Value of your Home

Tune Up Home Systems

When it’s an ideal opportunity to sell, would you be able to show that you’ve kept up with your home? Past new layers of paint, purchasers need to see that your home’s HVAC is completely practical.

Force Wash Dirty Siding

You don’t have to live in a development zone for the outside of your home to amass residue, grime and even shape, an exceptionally unwanted guest and home estimation executioner. Light up and scrub your home’s outside by having an expert force wash on a case by case basis

Make Curb Appeal

A yard loaded with weeds is in excess of a blemish — dismissed arranging can bring down your home’s worth. Refreshing the outside of your home can be a speedy and simple way of building moment esteem.

Give Kitchen Cabinets a Facelift

With a bit of real effort, a couple of gallons of paint and new cabinet pulls, you can bring kitchen cabinetry into the twenty-first century without burning through every last dollar.

Uncover Hardwood Floors

In the event that what’s hiding under destroyed rugs are hardwood floors, by all means nix the rug! Pulling up staples takes persistence, however your work will be awesome when those wood floors are uncovered.

Eliminate Popcorn Ceilings

Utilized in the last part of the 1950s to ’80s, this plaster roof became well known to conceal blemishes, yet in the present real estate market it shouts obsolete — and that is actually why it needs to go.

Home Remodeling Ideas

When it comes to home remodeling ideas, the possibilities are endless.

But not all of them will work for you. That’s because every house is different and every homeowner has different needs. What might be great for someone else may not fit your style or budget.

But that doesn’t mean there isn’t anything here that can help you! We have collected some of our favorite home renovations in the hopes they will inspire you to make your own changes in an area where YOU want to make improvements – whether it be a kitchen redo, bathroom update, or even something as simple as new paint colors in the living room!

In this article you will find a lot of pictures for your inspiration.

Some of the renovation ideas in this post include: Kitchen Renovation Ideas – Design & Decoration, Bathroom Remodeling Ideas, Bedroom Additions Plans, Basement Remodeling Ideas and more..

Now without further ado, let’s get started!

Kitchen Renovation Ideas – Design & Decoration

Love this idea for kitchen renovation ideas. Especially in older homes where the bar area was once a part of the kitchen. Here it provides additional seating in an open concept floor plan while still feeling connected to the cooking area. Before & After Kitchen Remodel

This is another great example of how you can use all available space when planning your kitchen renovation ideas or design. Floor plans are about maximizing square footage and creating flow through out the space – both important considerations when thinking about your own space. Before After Kitchen Renovations

Sometimes adding new windows allows you to connect 2 separate rooms together. While this may not make sense for a smaller space, it’s a great way to increase the light and openness in a larger home. Before & After Kitchen Remodel

Adding new cabinets, giving them a fresh paint color and new hardware allows you to completely change the look of your kitchen without having to do much more than that. New Cabinets for Kitchen Renovation Ideas

Be creative with lighting as well as appliances when looking at your own kitchen renovation ideas. If you already have an oven but want to upgrade, find one with hidden features like this one! This would allow you to keep your counter space free and clear for preparing food and using other appliances. Hidden Appliances: Upgrade Your Oven

When thinking about kitchen renovation ideas or design, don’t forget to think about flooring. This homeowner chose to go with a mix of tile and hardwood checkerboard pattern. It adds some interest without being too overwhelming, which is good for any kitchen renovation ideas or design project! Kitchen Flooring Ideas

Adding new cabinets isn’t the only way you can improve your existing cabinets. Reface them instead! This allows you to get rid of old dated wood finishes while adding new color & style – perfect for kitchen renovation ideas! Refacing Cabinets

Bathroom Remodeling Ideas

When it comes to bathroom remodels, small changes can make a big difference in the space.