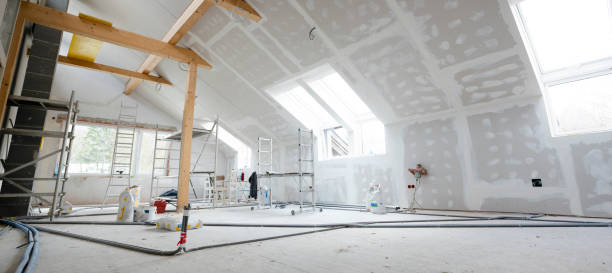
Repairing plaster can help restore the appearance and structural integrity of walls and ceilings. Here’s a step-by-step guide on how to repair plaster:
- Prepare the area: Clear the area around the damaged plaster, removing any loose debris or flaking plaster. Use a brush or vacuum to clean the surface.
- Secure the loose plaster: If there are any loose or bulging areas, use a putty knife or scraper to gently remove them. Ensure that the remaining plaster is stable and firmly attached to the lath or substrate.
- Apply a bonding agent: To improve the adhesion of the new plaster, apply a bonding agent to the prepared area. Follow the manufacturer’s instructions for the specific bonding agent you’re using.
- Mix the plaster: Prepare the plaster mix according to the manufacturer’s instructions. Use a clean bucket and add water gradually to achieve the desired consistency. Stir the mixture thoroughly until it is smooth and free of lumps.
- Apply the plaster: With a trowel, apply the plaster mix onto the damaged area. Start by filling in the deepest areas first and gradually build up the surface to match the surrounding plaster. Use the trowel to smooth and level the plaster.
- Feather the edges: Feathering is the process of tapering the plaster edges to blend seamlessly with the surrounding surface. Use a wet sponge or a damp cloth to gently smooth and feather the edges of the newly applied plaster.
- Let it dry: Allow the repaired plaster to dry completely. Drying times can vary depending on the thickness of the plaster and environmental conditions. Follow the manufacturer’s instructions for recommended drying times.
- Sand the surface: Once the plaster is dry, use sandpaper or a sanding block to smooth out any rough patches or unevenness. Take care to blend the repaired area with the surrounding surface for a seamless finish. Wipe away the dust with a clean cloth.
- Prime and paint: Apply a coat of primer to the repaired area to ensure proper adhesion and paint coverage. Once the primer is dry, you can paint over the repaired plaster to match the rest of the wall or ceiling.
- Clean up: Clean your tools and dispose of any waste materials properly. Follow any specific instructions provided by the plaster manufacturer for cleaning and disposal.
Note: If the damage to the plaster is extensive or beyond your skill level, it may be best to consult a professional plasterer or contractor to ensure a high-quality repair.
Remember, plaster repairs can be time-consuming and require patience. Take your time, follow the steps carefully, and don’t rush the process. With practice and attention to detail, you can achieve a successful plaster repair and restore the beauty of your walls or ceilings.
